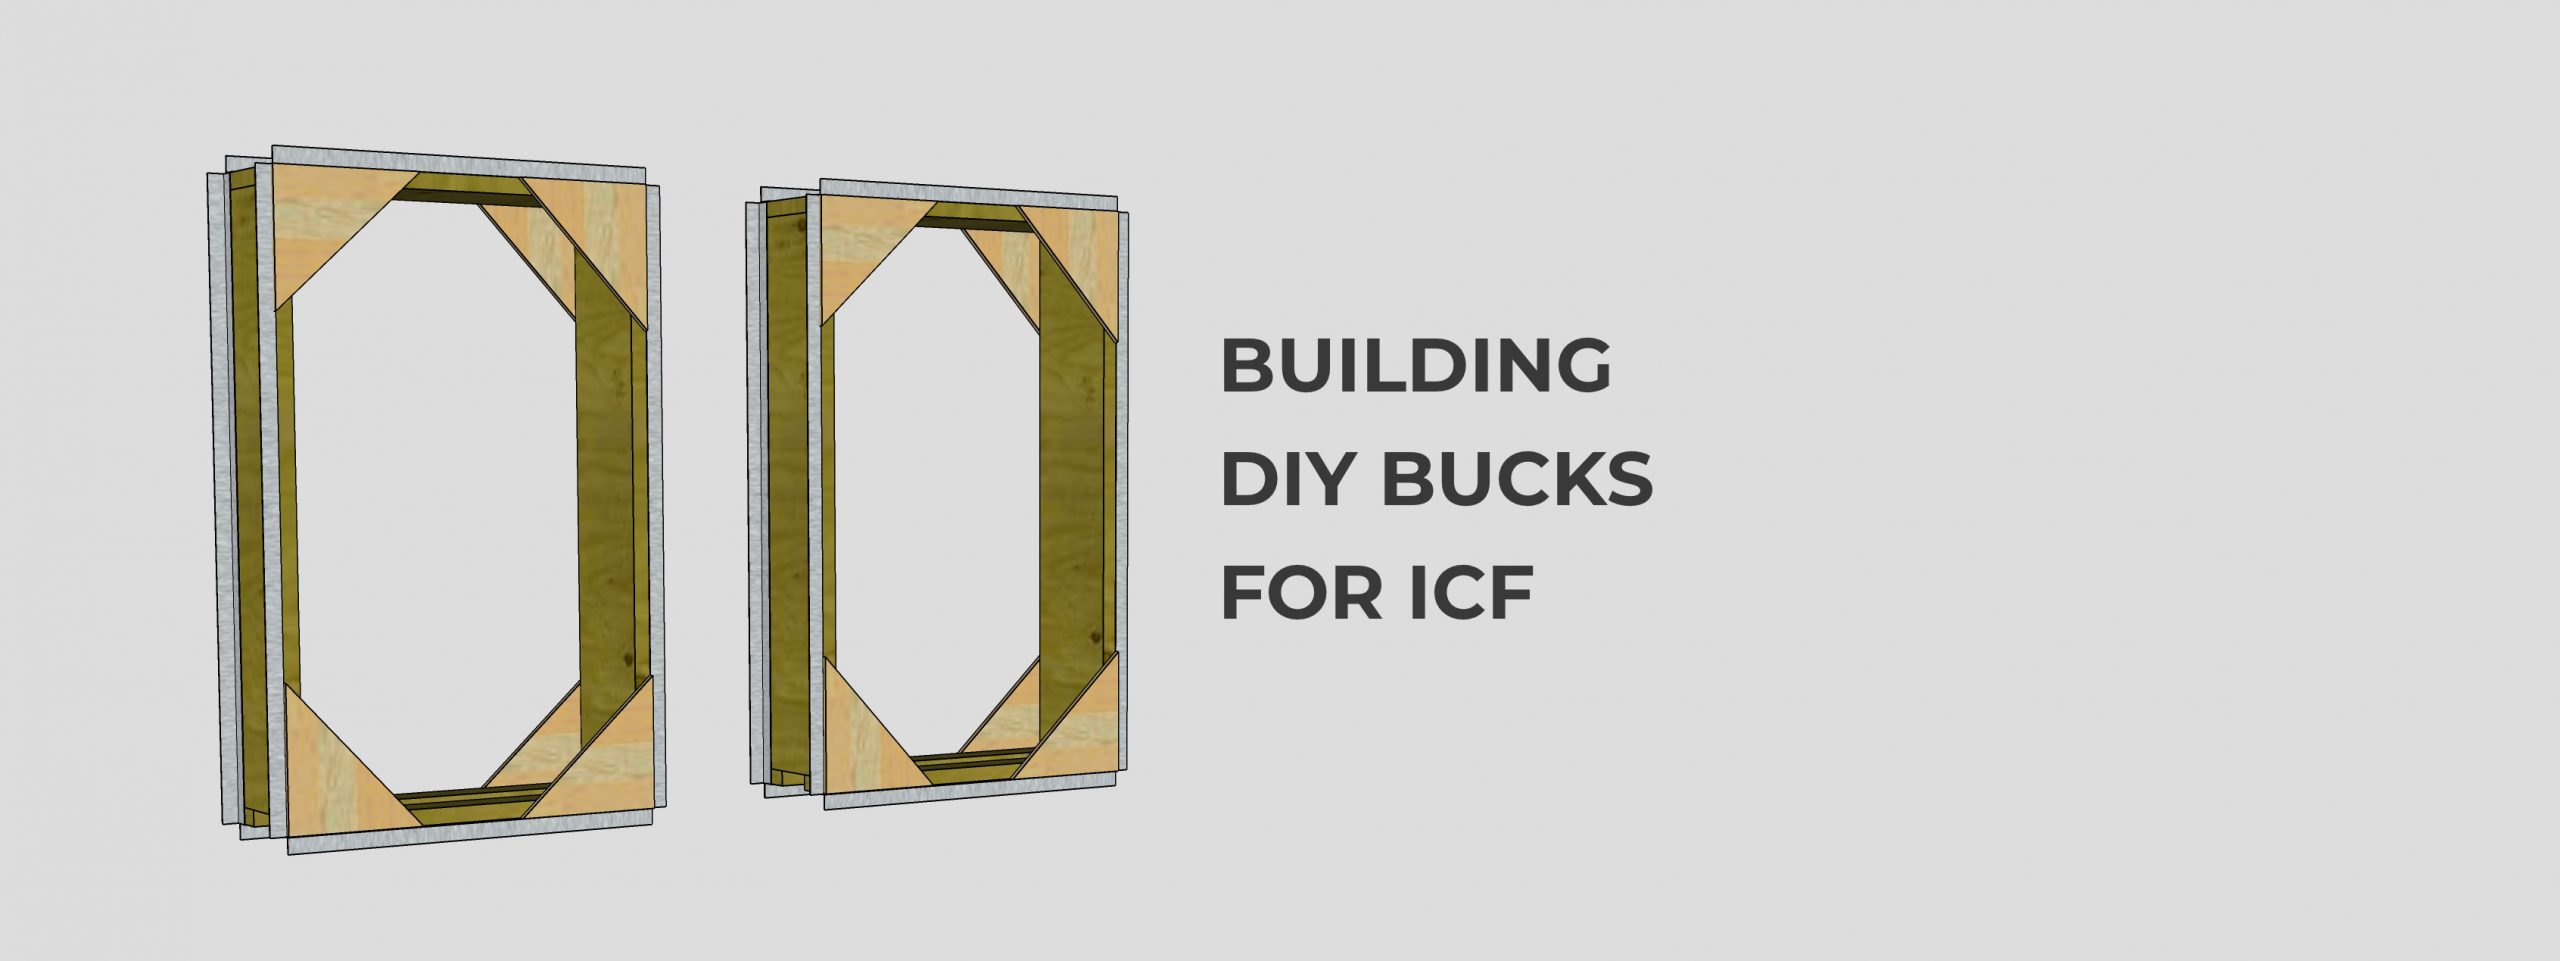
Building Simple Window Bucks for ICF
If you are tackling an ICF build, picking the right style of bucks for your window and door openings can be pretty complicated. While there’s a huge variety of options and certainly some that are preferred by whichever ICF Manufacturer you’ve chosen, these simple bucks have worked well for us in the past.
The main thing to keep in mind is what your finished Rough Opening will be after the buck is in place and making sure your windows will fit. Ask me how I know.
For this example, I will be laying out a buck for a 32″ x 54″ RO window, so I will be making my buck 35″ x 57″ to make room for the treated lumber buck.
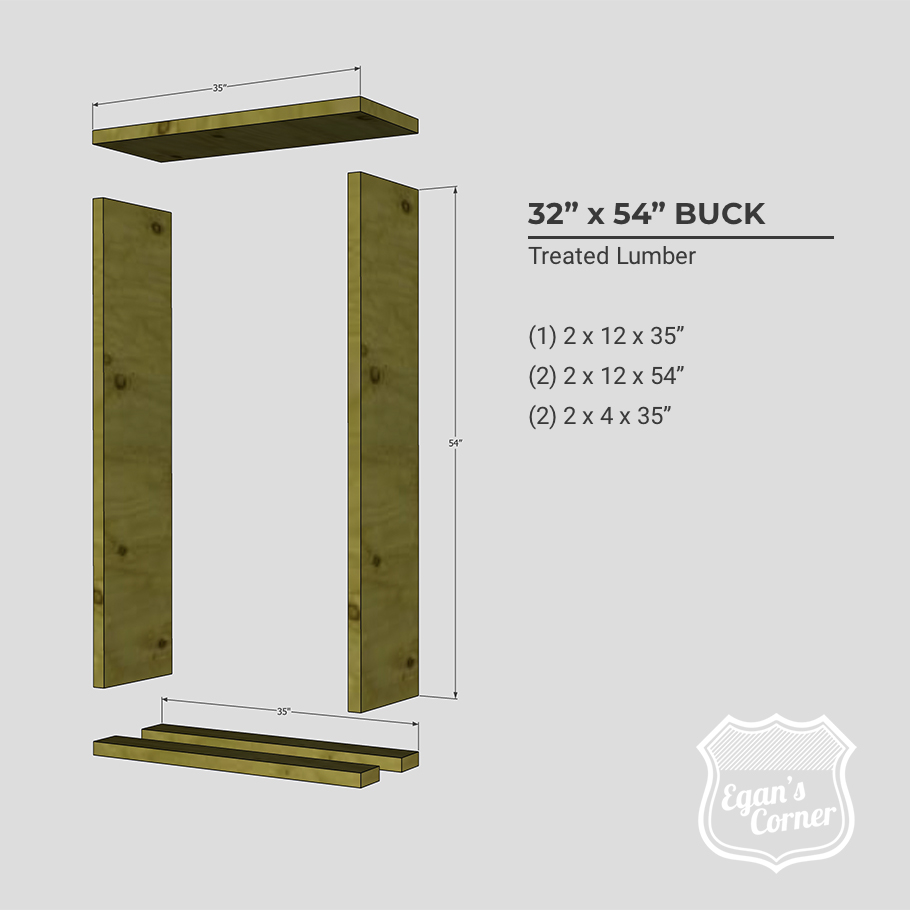
Treated Lumber
For these bucks, I’m using 2×4 and 2×12 treated lumber. The 2x4s are vital so that you can make sure your concrete is flowing and consolidating under the windows adequately.
Cut List:
(1) 2″ x 12″ x 35″
(2) 2″ x 12″ x 54″
(2) 2″ x 4″ x 35″
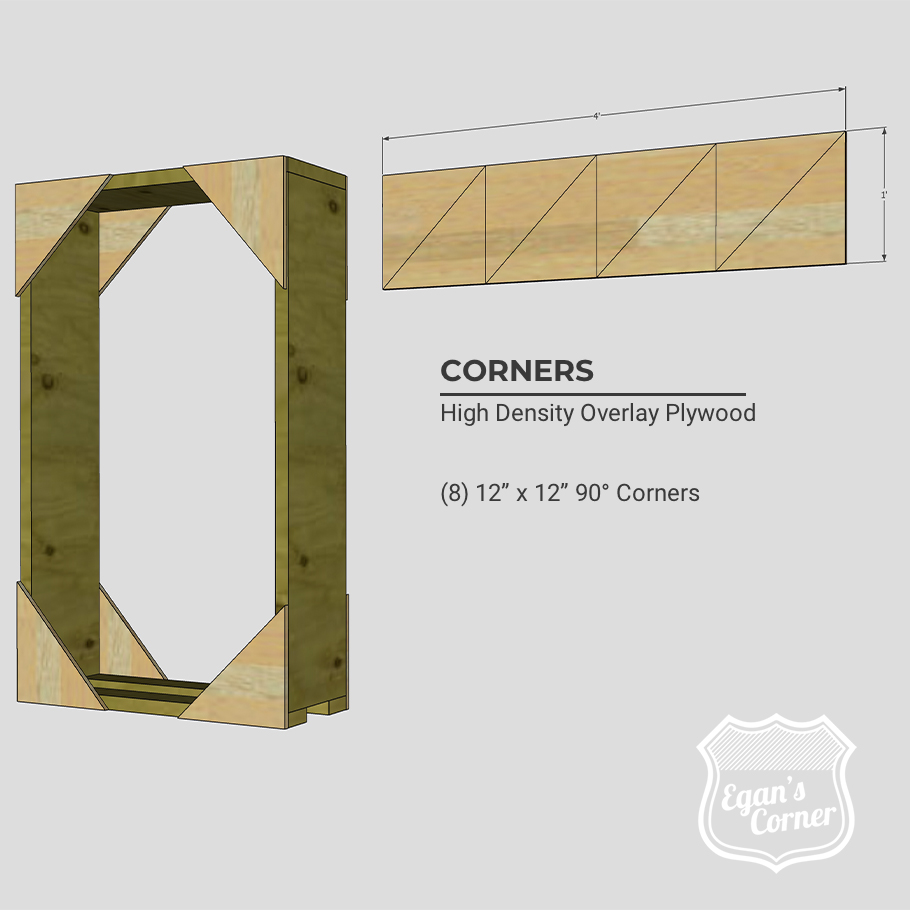
HDO Plywood
For reinforcement, I’m adding 12″ triangles made of High Density Overlay Plywood to keep the corners squared up. This is probably overkill and in the past I’ve used just 4 triangles on one side. I’m also fairly certain I used HDO plywood mostly because I had some steel-ply lying around.
Cut List:
(8) 12″ x 12″ 90 degree corners
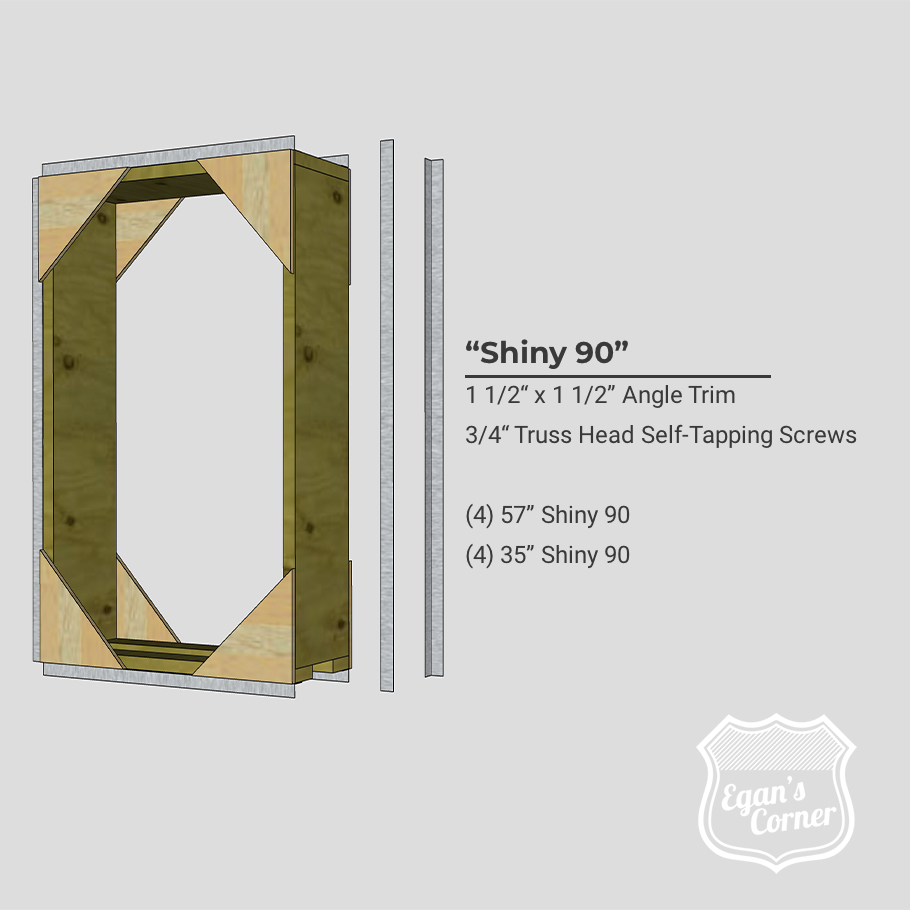
Shiny 90s
To hold the bucks in place, I used 8 lengths of “shiny 90″ or angle trim that measured 1 1/2″ x 1 1/2″ secured in place with 3/4” Phillips Truss Head Self-Tapping Screws.
Cut List:
(4) 57″ Shiny 90
(4) 35″ Shiny 90
Installation
Installation with these bucks is definitely a two man job and for larger windows it may certainly be necessary to lift them with a machine. The angle trim (or shiny 90s) help keep the buck in place, but you can always use straps in addition if you’re feeling hesitant.
After the bucks are installed and you’re ready to pour, use some scrap lumber cut to size to brace the bucks from the inside.
After the pour, simply remove the corner plywood and you’re ready to install your windows!
Bucks in Action